Creating a docker container for your Python app or R application is not that tough, But what happens when you developed an application that uses both the languages and what is the best approach to create the .dockerfile and achieve this without too much trouble? Keep reading to find out how.
There are people in the Data Science community who are using both Python and R, but their percentage is small. On the other hand, there are a lot of people who are committed to only one programming language but wished they had access to some of the capabilities of their adversary. For instance, R users sometimes yearn for the object-oriented capacities that are native to Python and similarly, some Python users long for the wide range of the statistical distributions that are available within R.
Because of this reason, I wrote my previous article explaining how to create an R Shiny dashboard using python methods. If you haven’t got a chance to read it yet, here it is:
Shiny is an R package that makes it easy to build interactive web apps straight from R. You can host standalone apps on…www.jayasekara.blog
As always, Why Containers?
Answer: Developing applications, models, and software from scratch is another thing, but what good does it make if you can’t deploy it for the end-users to access?… Exactly!
In this article, I’ll guide you on how to create a docker container for an application that consists of both R and Python libraries and deploy it locally.

Click on this link to clone this repository (Ignore my DP :) )
You can't perform that action at this time. You signed in with another tab or window. You signed out in another tab or…github.com
Now I have 3 files in my repository and I’ll explain what does each file do:
- app.R
- python_ref.py
- .Dockerfile
Now, I command you to read that previous article I’ve published since this code is exactly similar to that one and the only difference of the repository is that we have a .dockerfile and that is my target file.
What is .Dockerfile?
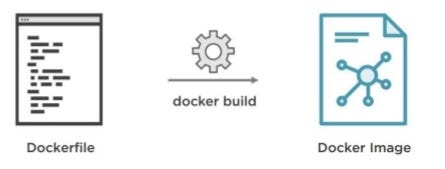
A Dockerfile is a simple text file that contains the commands a user could call to assemble an image.

Read more about Dockerfile here.
What should we consider when creating the Dockerfile in our case?
Which docker image should we use to create a layer on our container? You’ve probably seen this line as the very first line in a dockerfile.
FROM ubuntu:18.04But what does it mean? It means : FROM creates a layer from the ubuntu:18.04 Docker image
But in our scenario, We have another option that we can consider instead of going with ubuntu, and that is ROCKER!!

This is a Dockerfile for Shiny Server on Debian stable. Dockerfiles building on specific versions of R is now available as tags. These images are based on the corresponding r-ver image. You can request a specific R version using the appropriate tag, e.g. rocker/shiny:3.3.2.
The images are available from Docker Hub.
Plus, there are few other things to consider
- A way to attach R libraries to it.
Download and install packages from CRAN-like repositories or from local files.
# Download and install library
RUN R -e "install.packages(c('shinydashboard', 'reticulate', 'shiny'))"
- A way to attach Python libraries to it.
RUN ln -s /usr/bin/python3 /usr/bin/python && \
    ln -s /usr/bin/pip3 /usr/bin/pip
So in the end, This is how my Dockerfile looks like.
FROM rocker/shiny:3.5.1
RUN apt-get update && apt-get install libcurl4-openssl-dev libv8-3.14-dev -y &&\
    mkdir -p /var/lib/shiny-server/bookmarks/shiny
# Download and install library
RUN R -e "install.packages(c('shinydashboard', 'reticulate', 'shiny'))"
RUN ln -s /usr/bin/python3 /usr/bin/python && \
    ln -s /usr/bin/pip3 /usr/bin/pip
RUN apt-get update
RUN apt-get install -y libpython-dev
RUN apt-get install -y libpython3-dev
# copy the app to the image
COPY shinyapps /root/app
COPY Rprofile.site /usr/local/lib/R/etc/Rprofile.site
# make all app files readable (solves issue when dev in Windows, but building in Ubuntu)
RUN chmod -R 755 /root/app
RUN chmod -R 755 /usr/local/lib/R/etc
EXPOSE 3838
CMD ["R", "-e", "shiny::runApp('/root/app/app.R')"]Deploy using Windows Powershell
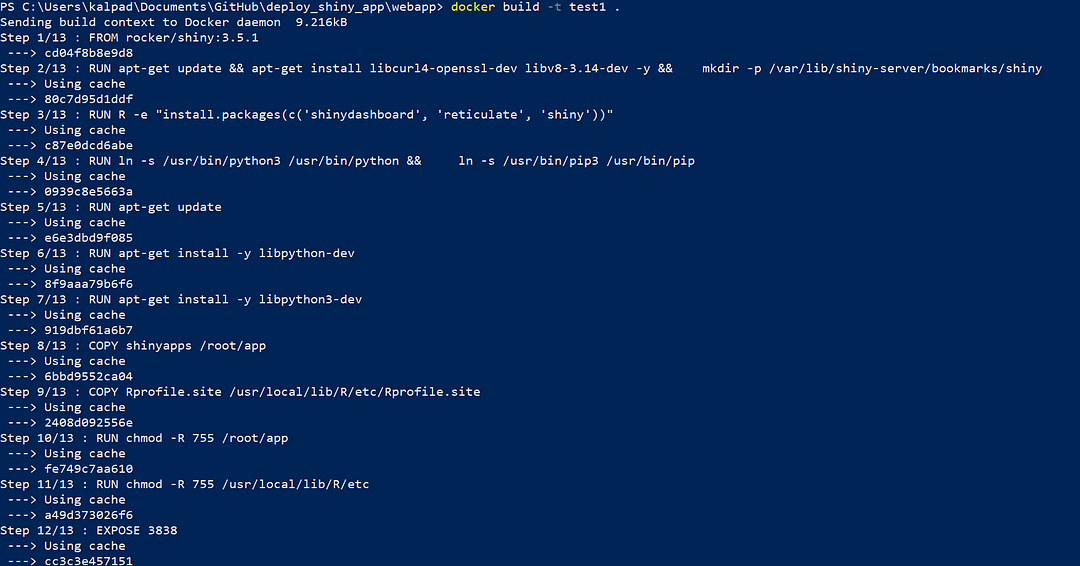
- Go to your project directory and build the dockerfile.
You will see an output like this:

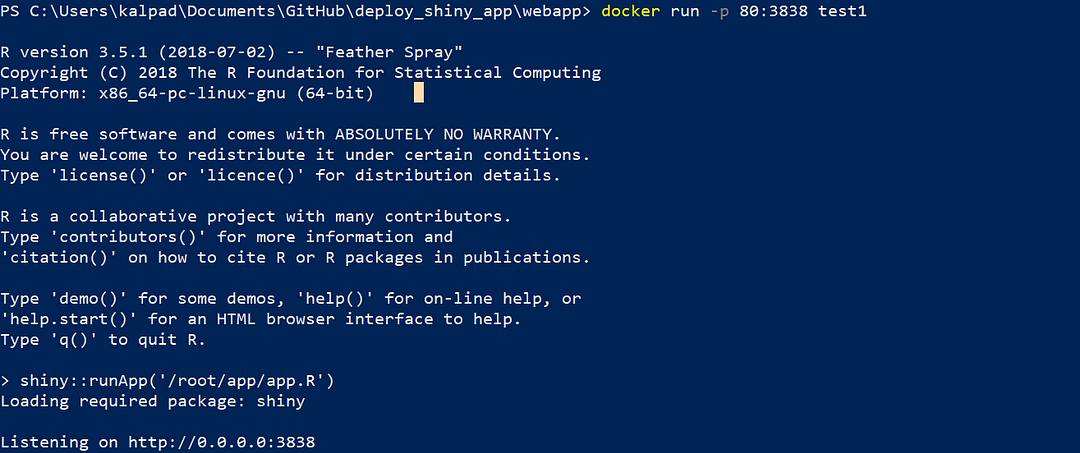
After building, Run the container which is on port 3838 and assign it to port 80 the default port.

That’s it, That’s our final step and go to your localhost (127.0.0.1) to see whether our container deployed without any issues.

You can experience the application yourself by clicking the following link:
Meanwhile, Checkout my article about Deploying a Docker Container on Amazon ECS using Elastic Container Registry:
Before moving on with my article, I assume that you have a basic knowledge about AWS and hope you guys have settled inn…www.jayasekara.blog
Thank you very much!
Cheers!


0 Comments